
|
|
 |
 320x240Fig 1640x480 |
 320x240Fig 2640x480 |
 320x240Fig 3640x480 |
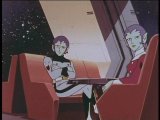
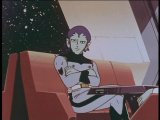
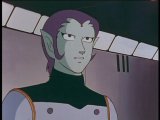
| Figure 1 shows the Rugger Guard chef (Sammy) singing as he plays the guitar. Figure 2 is of Kiitsu (Krik) and Moya (Cinda) listening to the chef. The camera then zooms into a close-up of Kiitsu (Krik), which is Figure 3. |
 320x240Fig 4640x480 |
 320x240Fig 5640x480 |
 320x240Fig 6640x480 |
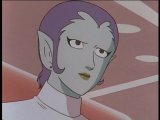
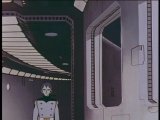
| In Figure 4, Kiitsu (Krik) senses something that worries him. Figure 5 shows some of the DaiRugger crew members listening to the chef (Sammy). In Figure 6, Kiitsu (Krik) gets up and leaves the room without a word. |
 320x240Fig 7640x480 |
 320x240Fig 8640x480 |
 320x240Fig 9640x480 |
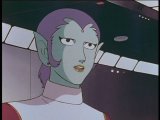
| Moya (Cinda) watches Kiitsu (Krik) leave in Figure 7. Figure 8 is of Moya (Cinda) looking concerned. In Figure 9, Kiitsu (Krik) walks up to a corridor window. |
 320x240Fig 10640x480 |
 320x240Fig 11640x480 |
 320x240Fig 12640x480 |
| Figure 10 shows Kiitsu (Krik) looking out the window. The shot then changes to Figure 11. The camera then pulls back to reveal that Moya (Cinda) has approached, which is Figure 12. |
 320x240Fig 13640x480 |
 320x240Fig 14640x480 |
 320x240Fig 15640x480 |
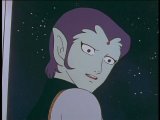
| Figure 13 shows Moya (Cinda) asking Kiitsu (Krik) what's wrong. He provides an answer in Figure 14 before looking out the window again in Figure 15. |
 320x240Fig 16640x480 |
 320x240Fig 17640x480 |
 320x240Fig 18640x480 |
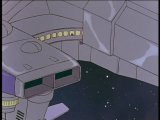
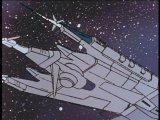
| Figure 16 shows a certain part of the Rugger Guard (Explorer). Figure 17 shows an exterior section of the Rugger Guard (Explorer) and the shadows of Kiitsu (Krik) and Moya (Cinda) can be seen on one of the windows. The camera then pulls out to what is Figure 18. |
 320x240Fig 19640x480 |
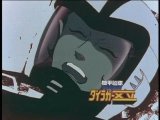
| Figure 19 is just of Kiitsu (Krik) screaming as the Keith Team comes under attack, the DXV logo on-screen. |
 320x240Fig 20640x480 |
 320x240Fig 21640x480 |
 320x240Fig 22640x480 |
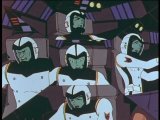
| Figure 20 shows the Rugger Guard (Explorer) in a static position. Figure 21 is just a close-up of the vessel. Figure 22 wasn't cut from Voltron per se, but it shows a bridge controller on the upper left talking to Ise (Hawkins), which was trimmed from Voltron. |
 320x240Fig 23640x480 |
 320x240Fig 24640x480 |
| Figures 23 wasn't cut from Voltron per se, but it shows the Marine Rugger Team, Kiitsu's (Krik) head looking downwards, which was trimmed from Voltron. Figure 24 shows an upside down shot of Kiitsu's (Krik) console from behind him. |
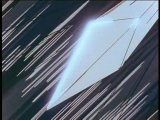 320x240Fig 25640x480 |
 320x240Fig 26640x480 |
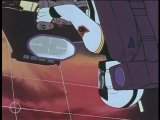
| Figure 25 is a close-up of the tip of DaiRugger's sword as it comes in toward the Combat Machine. Figure 26 shows the sword embedded into the Combat Machine's head. |