
|
|
 |
 320x240Fig 1640x480 |
 320x240Fig 2640x480 |
 320x240Fig 3640x480 |
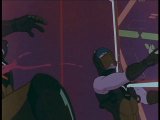
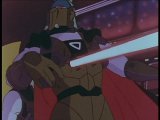
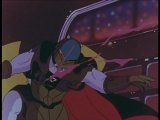
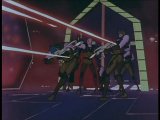
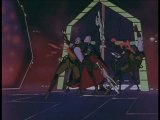
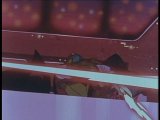
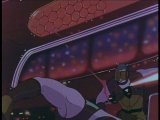
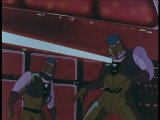
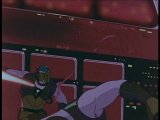
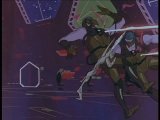
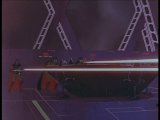
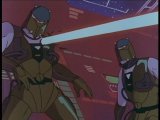
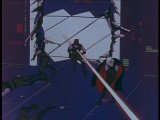
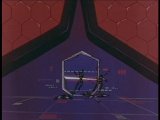
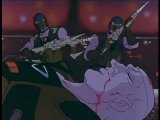
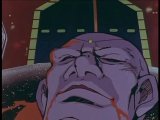
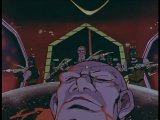
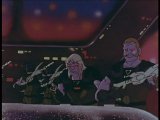
| Figure 1 is of two guards outside the room Telesu (Hazar) is in. They are then shot to death in Figures 2 and 3 by troops being lead by the bald Galbeston (Drule) officer (Brak). |
 320x240Fig 4640x480 |
 320x240Fig 5640x480 |
 320x240Fig 6640x480 |
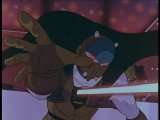
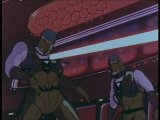
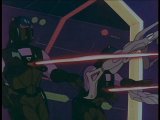
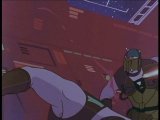
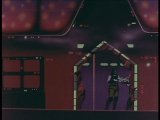
| Figure 4 shows the officer shielding Telesu (Hazar) being shot. He falls backwards in Figure 5, blood flowing from his wound. Figure 6 shows another officer being killed. |
 320x240Fig 7640x480 |
 320x240Fig 8640x480 |
 320x240Fig 9640x480 |
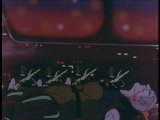
| In Figure 7, two of the revolting officers are shot. They start falling to the ground in Figure 8, blood flowing from their wounds. Figure 9 shows the officer on the left being shot. |
 320x240Fig 10640x480 |
 320x240Fig 11640x480 |
 320x240Fig 12640x480 |
| As the shot officer falls in Figure 10, another laser blast rips past, hitting the officer on the right and killing him. In Figure 11 the officer in the middle starts rising to fire his gun only to be shot as well, as seen in Figure 12. |
 320x240Fig 13640x480 |
 320x240Fig 14640x480 |
 320x240Fig 15640x480 |
| Figures 13 to 15 show several officers being shot. |
 320x240Fig 16640x480 |
 320x240Fig 17640x480 |
 320x240Fig 18640x480 |
| Figure 16 shows another officer being shot. In Figure 17, two Galbeston (Drule) officers fire their weapons at the revolting Galbestons (Drules). Figure 18 shows another two officers being hit and killed. |
 320x240Fig 19640x480 |
 320x240Fig 20640x480 |
 320x240Fig 21640x480 |
| Figure 19 shows two more officers being shot. The camera then pans leftwards to what is Figure 20 where several officers protecting Telesu (Hazar) return fire. Another officer is shot in Figure 21. |
 320x240Fig 22640x480 |
 320x240Fig 23640x480 |
 320x240Fig 24640x480 |
| Figure 22 shows another officer being shot. Figures 23 and 24 show two revolting officers being shot by in-coming Galbestons (Drules) who are backing up Telesu (Hazar). |
 320x240Fig 25640x480 |
 320x240Fig 26640x480 |
 320x240Fig 27640x480 |
| Figure 25 shows the fat Galbeston (Drule) officer (Nerok) being shot in the shoulder, wounding him. He is then cornered in Figure 26 and surrenders without any further ado. Figure 27 shows another two revolting officers being shot dead. |
 320x240Fig 28640x480 |
 320x240Fig 29640x480 |
 320x240Fig 30640x480 |
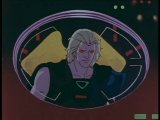
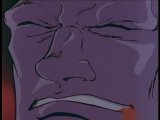
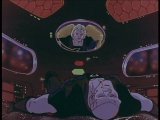
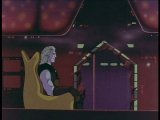
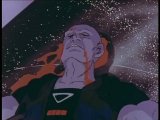
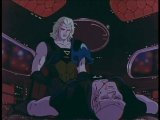
| Unwilling to be taken captive alive, the bald officer (Brak) points his gun to his head in Figure 28. Figure 29 is of Telesu (Hazar) on the room's communications monitor watching the events unfold from the area he had escaped to. Figure 30 shows the bald officer (Brak) speaking his last words. |
 320x240Fig 31640x480 |
 320x240Fig 32640x480 |
 320x240Fig 33640x480 |
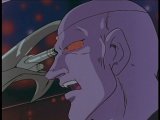
| Figure 31 shows the officer (Brak) pulling his gun's trigger. Figure 32 is a tight close-up of his face as he shoots himself in the head. Figure 33 shows him at the end of the table before he falls backwards. |
 320x240Fig 34640x480 |
 320x240Fig 35640x480 |
 320x240Fig 36640x480 |
| Figure 34 shows the officer (Brak) dead on the table, having fallen backwards on to it after shooting himself in the head. Figure 35 shows two of the revolting slaves looking at the dead officer (Brak). Figure 36 is a close-up of the dead officer's (Brak) face. |
 320x240Fig 37640x480 |
 320x240Fig 38640x480 |
 320x240Fig 39640x480 |
| Figure 37, which was a pull-back shot from Figure 36 above, shows several back-up soldiers arriving and seeing the dead officer (Brak). Two of the remaining revolting officers then surrender without a fight in Figure 38. They are shown being lead away in Figure 39. |
 320x240Fig 40640x480 |
 320x240Fig 41640x480 |
 320x240Fig 42640x480 |
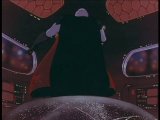
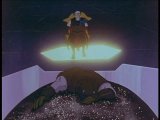
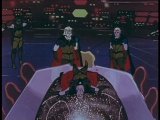
| Telesu (Hazar) then appears in the shot, his chair rising up from the escape chute with him in it, as seen in Figure 40. Figure 41 shows the end of Telesu's (Hazar) chair rising up. Telesu then walks towards the table in Figure 42. |
 320x240Fig 43640x480 |
 320x240Fig 44640x480 |
 320x240Fig 45640x480 |
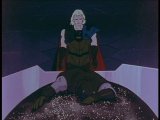
| Figure 43 is another shot of the dead officer (Brak) on the table. The camera slowly zooms in on the dead officer (Brak) in Figure 44. Figure 45 is of Telesu (Hazar) looking down at the body. |
 320x240Fig 46640x480 |
 320x240Fig 47640x480 |
 320x240Fig 48640x480 |
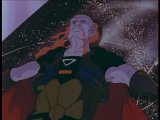
| In Figure 46, the camera slowly zooms in for a close-up on Telesu (Hazar). Figures 47 and 48 is a right-to-left pan shot of several officers and the dead officer (Brak). |
 320x240Fig 49640x480 |
 320x240Fig 50640x480 |
| Figure 49 is a close-up of Telesu (Hazar), Dorick (Mongo) and the dead officer (Brak). The camera then pulls out to what is Figure 50, bringing the scene to an end. |